STM32 Light Sensor (LDR) Interfacing - Analog Communication and UART
In this project, we will be interfacing an LDR (Light Dependent Resistor) with the STM32 microcontroller. To visualize the output, UART communication is utilized to send the data over a cable to a connected PC or laptop. The result can then be observed through the console of the STM32 IDE.
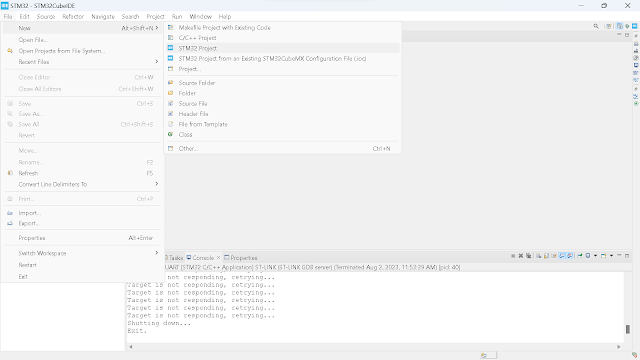
Create a new project by selecting "New" and then choosing "STM32 Project."
Please select the targeted board correctly (B-L072Z-LRWAN1) and click on Next.
Provide the project name and click on Finish.
Now we have a configuration page that looks like this.
Click on Pinout -> Clear Pinouts
Now, on the left side, click on Connectivity.
Select USART2 and set the mode to Asynchronous.
PA2 should be configured as USART2_TX.
PA15 should be configured as USART2_RX.
Now, on the left side, click on Analog -> ADC.
To select IN0, click on the checkbox next to it.
Now, we need to write our code in the main.c file. Inside the while loop, copy and paste this code.
uint16_t readValue;
HAL_ADC_PollForConversion(&hadc, 1000);
readValue = HAL_ADC_GetValue(&hadc);
char buffer[5];
snprintf(buffer, sizeof(buffer), "%u", readValue);
HAL_UART_Transmit(&huart2, (uint8_t *)buffer, sizeof(buffer), HAL_MAX_DELAY);
HAL_UART_Transmit(&huart2, (uint8_t *)"\n", 1, HAL_MAX_DELAY);
HAL_Delay(1000);
Add this line after library imports:
ADC_HandleTypeDef hadc;
Add thi line inside main function:
HAL_ADC_Start(&hadc);
Build the project
Debug the project
Open the command shell console to view the output.
For detailed instructions on how to perform the build, debug, and view the output in the console, please refer to the blog provided.


Comments
Post a Comment